DEVELOPMENT / 01Design for the finished patch size
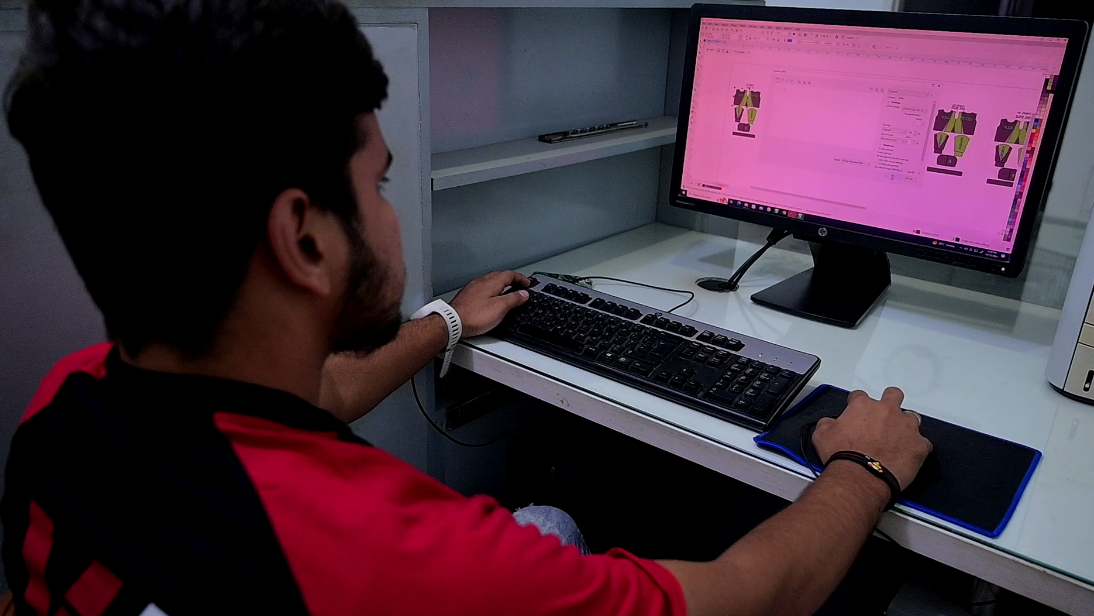
A logo that reads clearly on a large screen may lose definition as a small physical component. Supply current artwork and identify essential lettering, fine lines, and gaps. Discuss the dimensions and construction together. If the proposed process needs artwork simplification, approve those changes before a sample or production reference is finalized.
DEVELOPMENT / 02Connect the surface to the product
Choose the patch effect with the garment or accessory in mind. A firm component, a flexible textile patch, and a raised surface can behave differently at the same location. Explain the intended use, care, and contact with the wearer or other equipment. Review a patch attached to the actual proposed product whenever placement or feel is important.
DEVELOPMENT / 03Specify edges and attachment clearly
Record the shape, finished dimensions, border, corner treatment, backing, and attachment instructions. Mark stitch positions and seam allowances where needed. Do not assume a backing or attachment system works with every fabric or care method. Discuss the proposed approach and the checks relevant to your product before the sample is approved.
DEVELOPMENT / 04Review a physical approval reference
Check readability, colours, surface, dimensions, edge quality, thickness, and attachment. View the patch at the distance and scale in which the end customer will encounter it. Identify any mismatch with the approved artwork using marked photographs and measurements. Retain the final artwork and physical sample so the next order has a clear reference.
DEVELOPMENT / 05Coordinate quantities and range versions
List every artwork version, size, colourway, and quantity. State whether patches are supplied loose or attached to finished products, and specify sorting, counting, identification, and packing. Confirm development, setup, minimums, prices, and schedules against the actual patch brief. For reorders, identify changes rather than assuming an old file remains current.